Drying and Preserving Your Harvested Herbs from Window Boxes
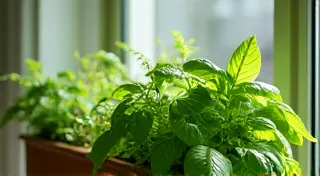
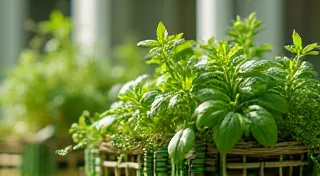
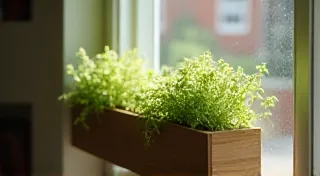
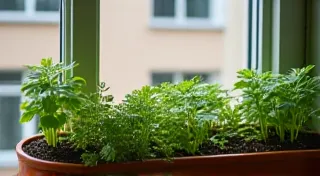
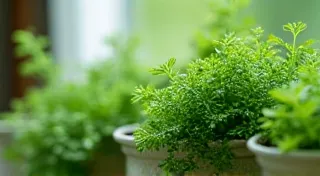
Your window boxes are overflowing with fragrant culinary herbs! The satisfaction of growing your own fresh herbs is immense, but what happens when summer fades and you still crave that basil pesto or rosemary roasted potatoes? Fortunately, preserving your harvest is easier than you might think. This guide covers several effective techniques to enjoy the flavor of your window box herbs year-round.
Why Preserve Your Herbs?
Beyond extending their availability, preserving herbs helps reduce waste and allows you to capture the peak flavor and aroma of your garden. Fresh herbs are highly perishable, and while freezing is an option, drying often concentrates the flavors beautifully. Success in preserving your herbs is also tied to ensuring they grow vigorously to begin with; carefully considering the sunlight requirements is a vital first step! It's about much more than just planting seeds and hoping for the best – it’s about creating the right conditions for robust growth and a bountiful harvest that's ready for preservation.
Methods for Drying Culinary Herbs
Air Drying: The Traditional Method
Air drying is perhaps the most classic and simplest preservation technique. It requires minimal equipment and allows the natural oils of the herbs to develop, resulting in excellent flavor. It’s a beautiful process, witnessing the transformation of vibrant green leaves to brittle, fragrant treasures. To ensure the best results, selecting herbs that are well-suited to your climate and growing conditions is key. If you're just starting out, exploring the top 10 culinary herbs for window box gardening can provide a great foundation.
- Harvesting: Harvest herbs in the morning after the dew has evaporated, when their oils are most concentrated. Cut stems long (6-8 inches).
- Bundling: Gather 5-10 stems of the same herb into a small bundle. Secure the stems with twine or a rubber band.
- Hanging: Hang the bundles upside down in a dry, dark, well-ventilated area. Attics, closets, or spare rooms work well. Ensure good airflow to prevent mold.
- Drying Time: Drying typically takes 1-3 weeks, depending on the humidity and the type of herb. Herbs are dry when the leaves crumble easily.

Oven Drying (Faster, but Requires Attention)
For those needing a quicker solution, oven drying can be effective, but it's crucial to maintain a low temperature to prevent scorching. Planning your harvest and drying process also involves careful consideration of creative window box garden designs to maximize your yield. It’s about more than just picking herbs; it’s about crafting a system that works for you. Consider the layout, the spacing between plants, and the type of herbs you choose to ensure a steady supply for preservation throughout the season. A well-planned window box will not only look beautiful but will also be a productive source of flavorful ingredients.
- Preparation: Wash and thoroughly dry your herbs. Remove leaves from thicker stems like rosemary and thyme.
- Spreading: Spread the herbs in a single layer on a baking sheet lined with parchment paper.
- Drying: Bake at the lowest possible oven temperature (ideally under 170°F/77°C) for 2-4 hours, checking frequently. A convection oven works best for even drying.
Important Note: Oven drying can diminish some of the volatile oils, resulting in slightly less intense flavor compared to air drying.
Dehydrator Drying (Consistent Results)
A food dehydrator provides the most consistent and controlled drying environment. Follow the manufacturer's instructions for herbs. Typically, a temperature of 95-115°F (35-46°C) is recommended for 2-4 hours.
Storing Your Dried Herbs
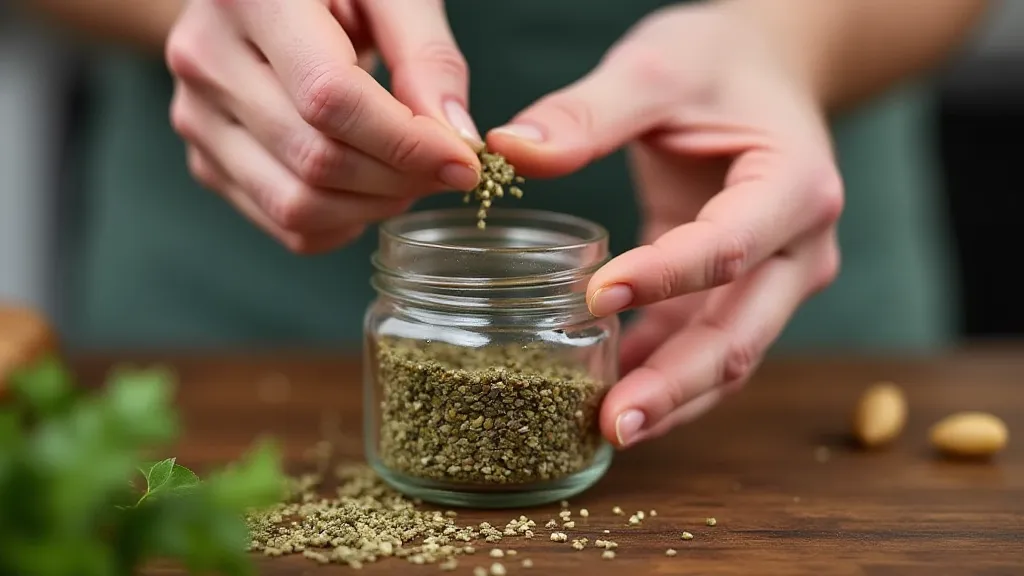
Once your herbs are completely dry, store them in airtight containers, such as glass jars or metal tins. Keep them in a cool, dark, dry place away from sunlight. Properly stored dried herbs can retain their flavor for up to a year. Consistent results also rely on proper fertilization; understanding how fertilizing your culinary herb window boxes impacts your harvest can dramatically improve your yields and preserve quality. Think of fertilization as the vital nutrition your herbs need to thrive – just as important as sunlight and water.
Herb Preservation Beyond Drying
While drying is most common, other preservation techniques exist:
- Freezing: Can be done with chopped herbs in oil or water. Flavor is generally milder than dried.
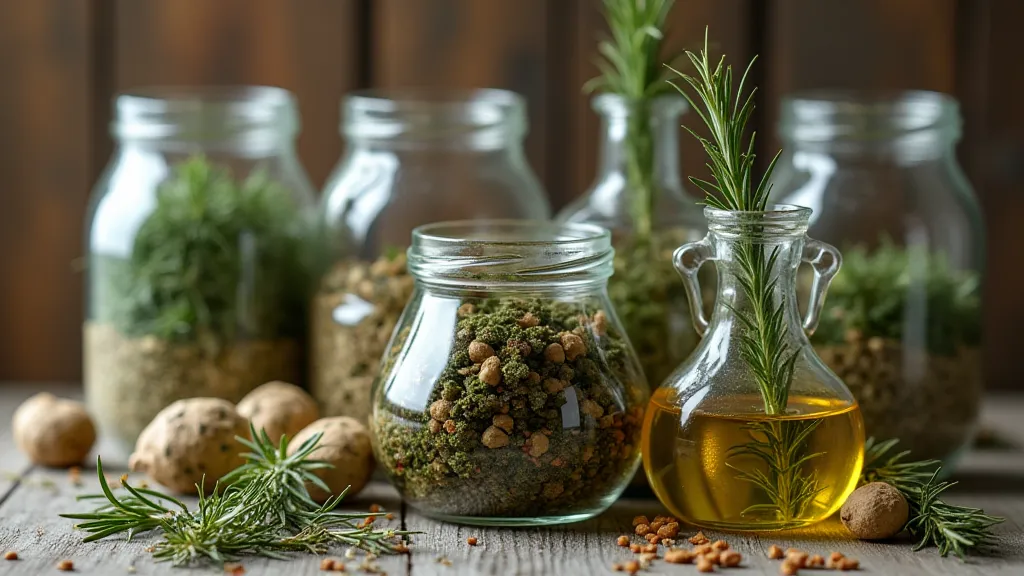
- Herb-Infused Oils & Vinegars: A flavorful way to preserve the essence of your herbs.
- Salt Curing: A traditional method for preserving herbs like rosemary and thyme (less common for other culinary herbs).
Choosing the Right Herbs for Your Window Box
Before you even think about drying, selecting the right herbs is key. Some thrive better than others. For a beginner, it’s helpful to start with the top 10 culinary herbs for window box gardening. This provides a solid foundation for future experimentation. Beyond the basics, consider the specific growing conditions in your area – is it sunny or shady? Windy or sheltered? Choose herbs that will flourish in those conditions for the best results.
Tips for Optimizing Your Harvest
Beyond the drying process, maximizing your yield requires a holistic approach. Ensure your window box has adequate drainage to prevent root rot. Rotate your herbs periodically to ensure even light exposure. Regular harvesting, even when you don’t plan to dry them, encourages bushier growth and larger yields. It also helps to prevent plants from bolting (going to seed), which drastically reduces leaf production and flavor. Understanding the nuances of each herb is crucial; some herbs are more sensitive to heat and require shade during the hottest part of the day. Proper pruning, for example, can stimulate new growth and extend the harvest season.
Troubleshooting Common Problems
Sometimes, despite your best efforts, things don't go as planned. Yellowing leaves can indicate a nutrient deficiency or overwatering. Brown spots may be a sign of fungal disease. Take action promptly to address these issues and prevent them from spreading. Regular inspection is vital, and don’t be afraid to experiment with different techniques to find what works best for your environment. Sometimes a simple change in location or watering schedule can make all the difference.
Expanding Your Herbal Palette
Once you’re comfortable with the basics, consider adding more unusual or specialty herbs to your window box. These can add exciting new flavors and aromas to your cooking. However, remember that some herbs are more challenging to grow than others and may require more specialized care. Consider researching the specific needs of each herb before adding it to your collection.
The Joy of Homegrown Herbs
Preserving your homegrown herbs is a rewarding experience that connects you to the seasons and provides a delicious way to enjoy the fruits (or leaves!) of your labor. It’s a skill that can be passed down through generations and a testament to the power of simple, sustainable living. From the initial planting to the final preserved product, the entire process is a journey of connection – connecting you to nature, to your food, and to a time-honored tradition of self-sufficiency.
